Galaxy at MSI
The Galaxy web application is an integrated informatics solution that supports both data analysis and research discovery. It is useful to beginning, intermediate, and advanced informatics users or researchers alike.
Login and Access
Navigate your browser to https://galaxy.msi.umn.edu/
When prompted, log in using your MSI username and password.
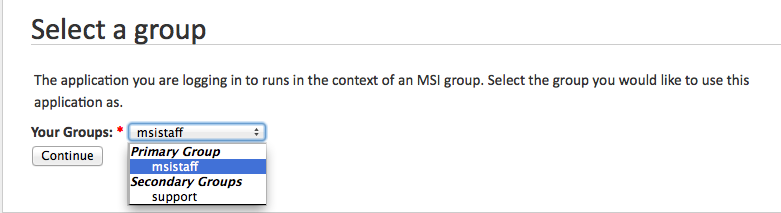
Some users may be in more than one MSI group. If so, you will have to choose which group accounts will be in effect during this Galaxy session. Sessions started in separate MSI groups will not communicate with each other; they will act as if they were entirely separate users. Most MSI users are in a single MSI group.
How to Get UMGC Sequencing Data into Galaxy
When the UMGC completes your sequencing run, you will receive an email from the center. Forward that email to MSI support.
A help ticket is automatically created and sent to the MSI help desk.
MSI will then link the sequencing files to a Data Library that is accessible to your group.
You will receive an email notifying you that your data is ready to be used in Galaxy.
To access the sequencing files:
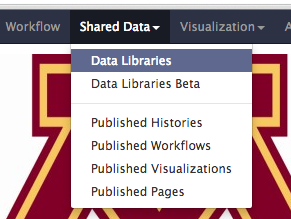
Large data sets, such as sequencing files, are stored in Galaxy’s Shared Data -> Data Libraries section.
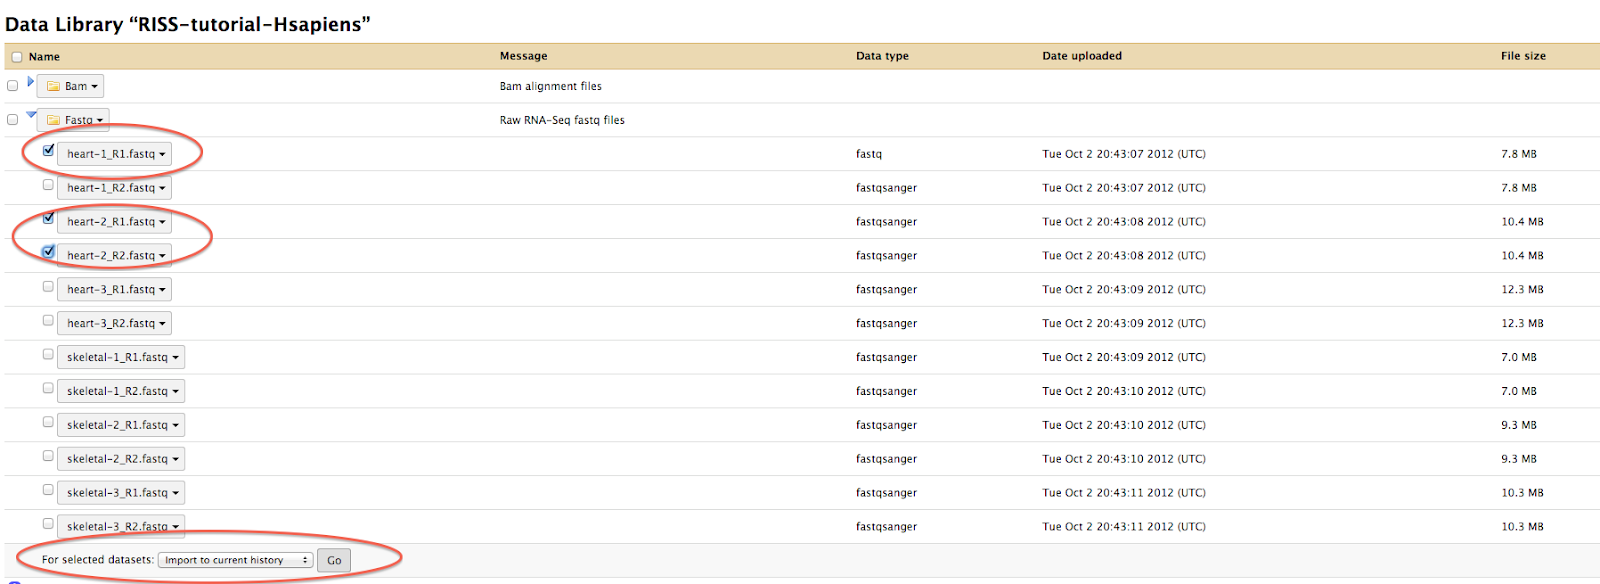
Choose the Data Library referenced in the email (this usually is, or includes, the PI first and last name).
Select the sequence files you wish to analyze.
Make sure the For selected datasets: dropdown is set to import to current history.
Click Go.
The sequence files are now available for analysis within Galaxy.
How to Get Other Data into Galaxy
Small files (< 2 GB) can be uploaded from your personal computer to Galaxy from within the Galaxy application.
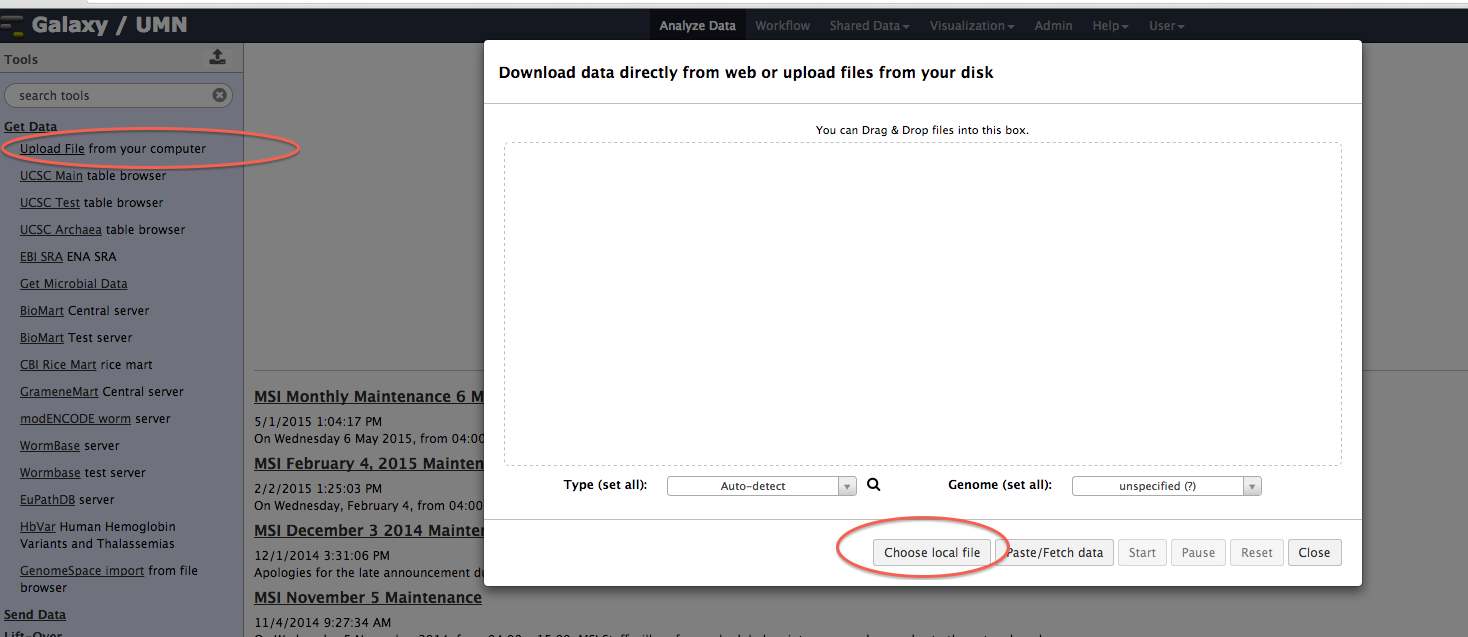
From the left-pane tools menu select Get Data -> Upload File.
From the dialog box, choose your locally stored file or files.
Click Start.
Once all the progress bars go fully green, click Close.
Galaxy will start a job to upload your local file. This job may not be completed instantly. Once the upload is complete, you will be able to use the file with Galaxy.
Large files (> 2 GB) must be added to a data library. To get data added to a data library:
Move the data into your group’s Galaxy directory. The files can be loose files or in a folder under the Galaxy directory. Your group’s Galaxy directory is located at
/home/<group>/galaxy.Ensure that the data is non-compressed (unzipped) before it gets linked to Galaxy.
Email MSI asking for the files to be added to a Galaxy data library. Provide the name of the directory or files that are to be linked to Galaxy in the email.
If you do not know how to move the data into your group’s MSI Galaxy directory or how to decompress the files, you can give MSI staff permission to do so.
How to Get a New Genome Added to Galaxy
Many Galaxy tools require FASTA-formatted genome data or annotation files. Many of the genome files are available in tool interfaces, but if you are working with an uncommon organism, Galaxy may not have the files you need. Most tools also let you select a genome or annotation file from your active history. Galaxy tools under the Get Data heading let you download annotation data directly to your active Galaxy history, or if you have an external file you can add it to your Galaxy session using the options above. There are also a few reference Data Libraries available to all Galaxy users that contain FASTA genomes and annotation files for some organisms.
If you believe that many groups would benefit from having access to a specific genome, you can request that it be added to Galaxy by emailing MSI support. Specify the genome details in the email, including a link to where it can be downloaded. Once the genome is available within Galaxy, you will receive a confirmation email with details of how to access it.
How to Request a New Tool be Added to Galaxy
The MSI Galaxy installation has many installed tools available for your use. MSI can extend Galaxy’s usefulness by adding new tools to the web application.
Please open a help desk ticket with the tool details.
How To Delete Old Histories and Data From Galaxy
Delete specific elements in a history
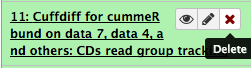
Each element in an active history can be deleted by selecting the X icon next to the name of the history element.
Delete current history
Under the gear icon in the top right corner of the history pane, there is a Delete Permanently option. You should always use Delete Permanently and not the regular Delete option, because Delete moves files into a Recycle Bin and will not reduce the amount of data storage you are utilizing.

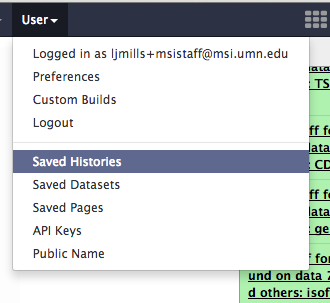
Delete from the list of all histories
Under the User heading in the blue bar at the top of the page is the Saved Histories option. Selecting this takes you to a page that lists every history you own. Select the checkbox next to each history you would like to delete, then select Delete Permanently at the bottom of the page to delete the checked histories.